How to Tie: Shinju Chest Harness
Name: Shinju Chest Harness
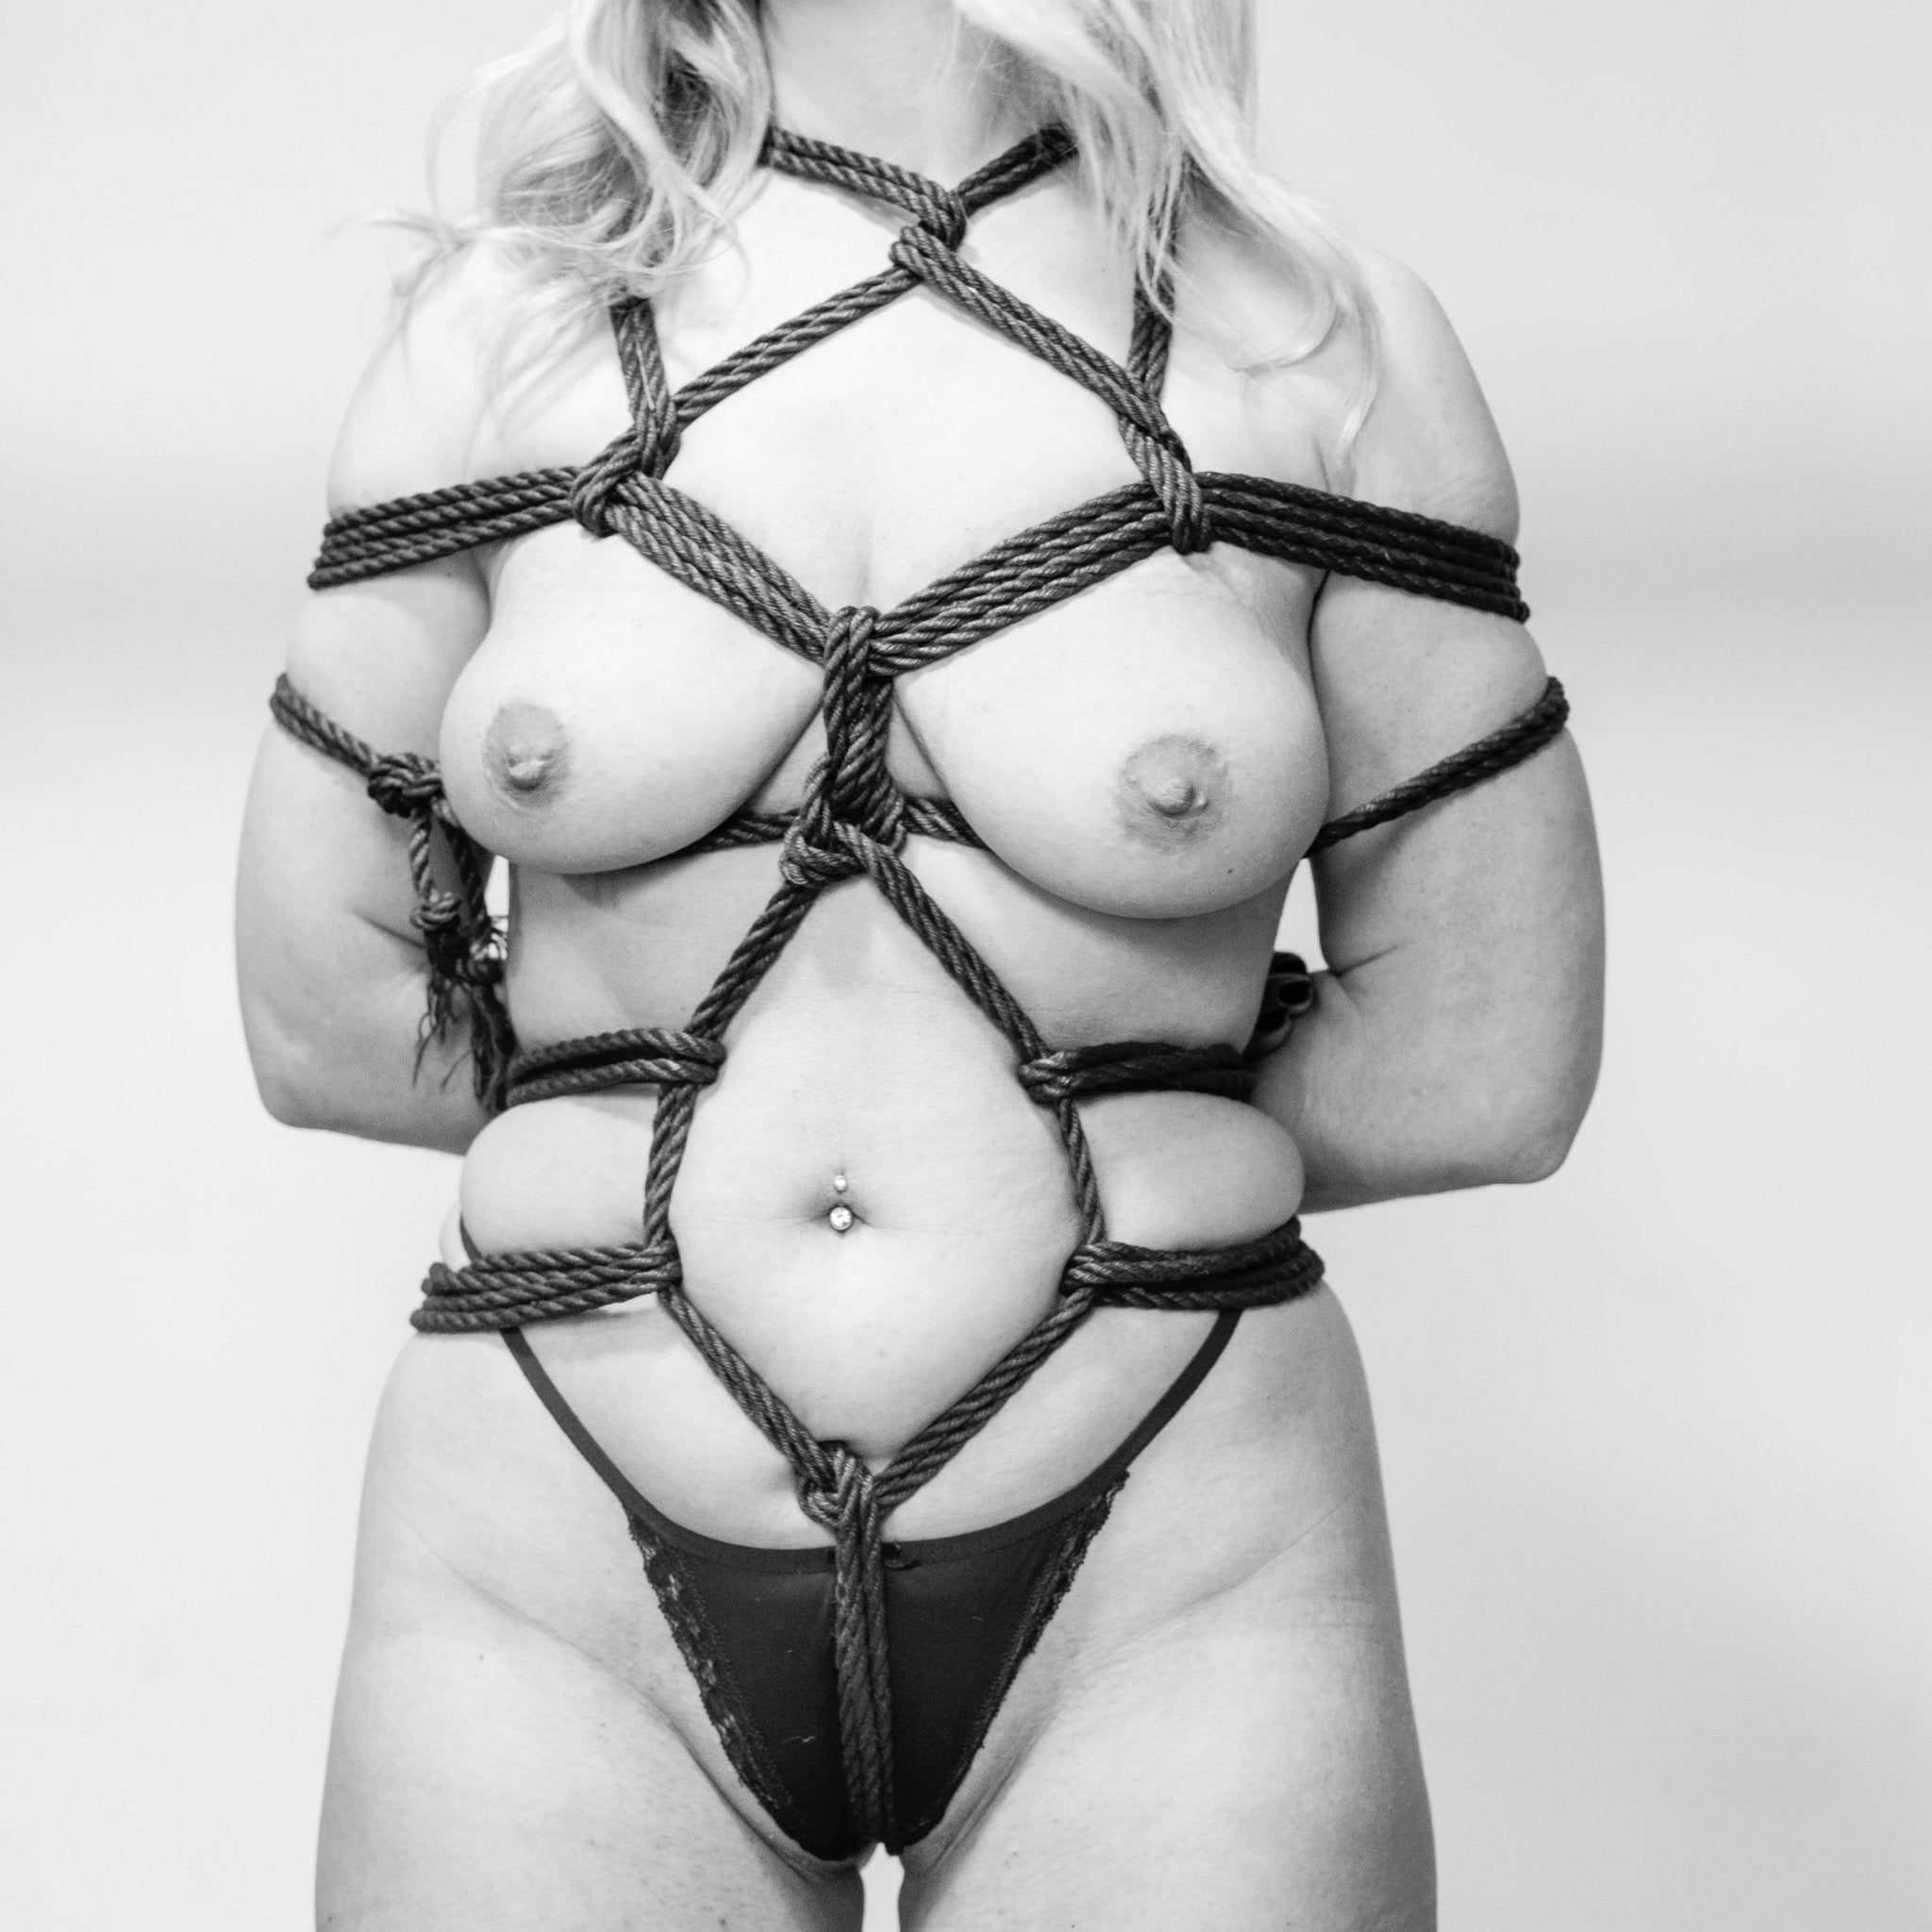
Shinju (真珠) is a Japanise word meaning pearls which is used here as a euphemism for breasts. There are lots of chest harness which are called shinju chest harnesses, it can be seen as a general catagory as opposed to refer to a single tie. We will be using a reverse tension chest harness as the basis of this tie, and looking at four different variations of how to tie the front of it.


Body Types
When tying this on someone with breasts the bottom wraps sit snuggly under the breasts, when tying someone without breasts the bottom wrap sits just under the nipple on the pectoral muscle.
Rope
Rope: These harnesses was tied using two 8 meter Yellow Jute Ropes.
Tutorial
Tying the Reverse Chest Harness
1. Fold your rope in half, and take the middle (the bight) around the body above the chest to form a wrap.


6. Bring the rope through the lowest wrap, and reverse the tension again.


7. Bring the rope around the body again to form a second wrap under the previous one. (during this i reached the end of the rope so added a new rope)


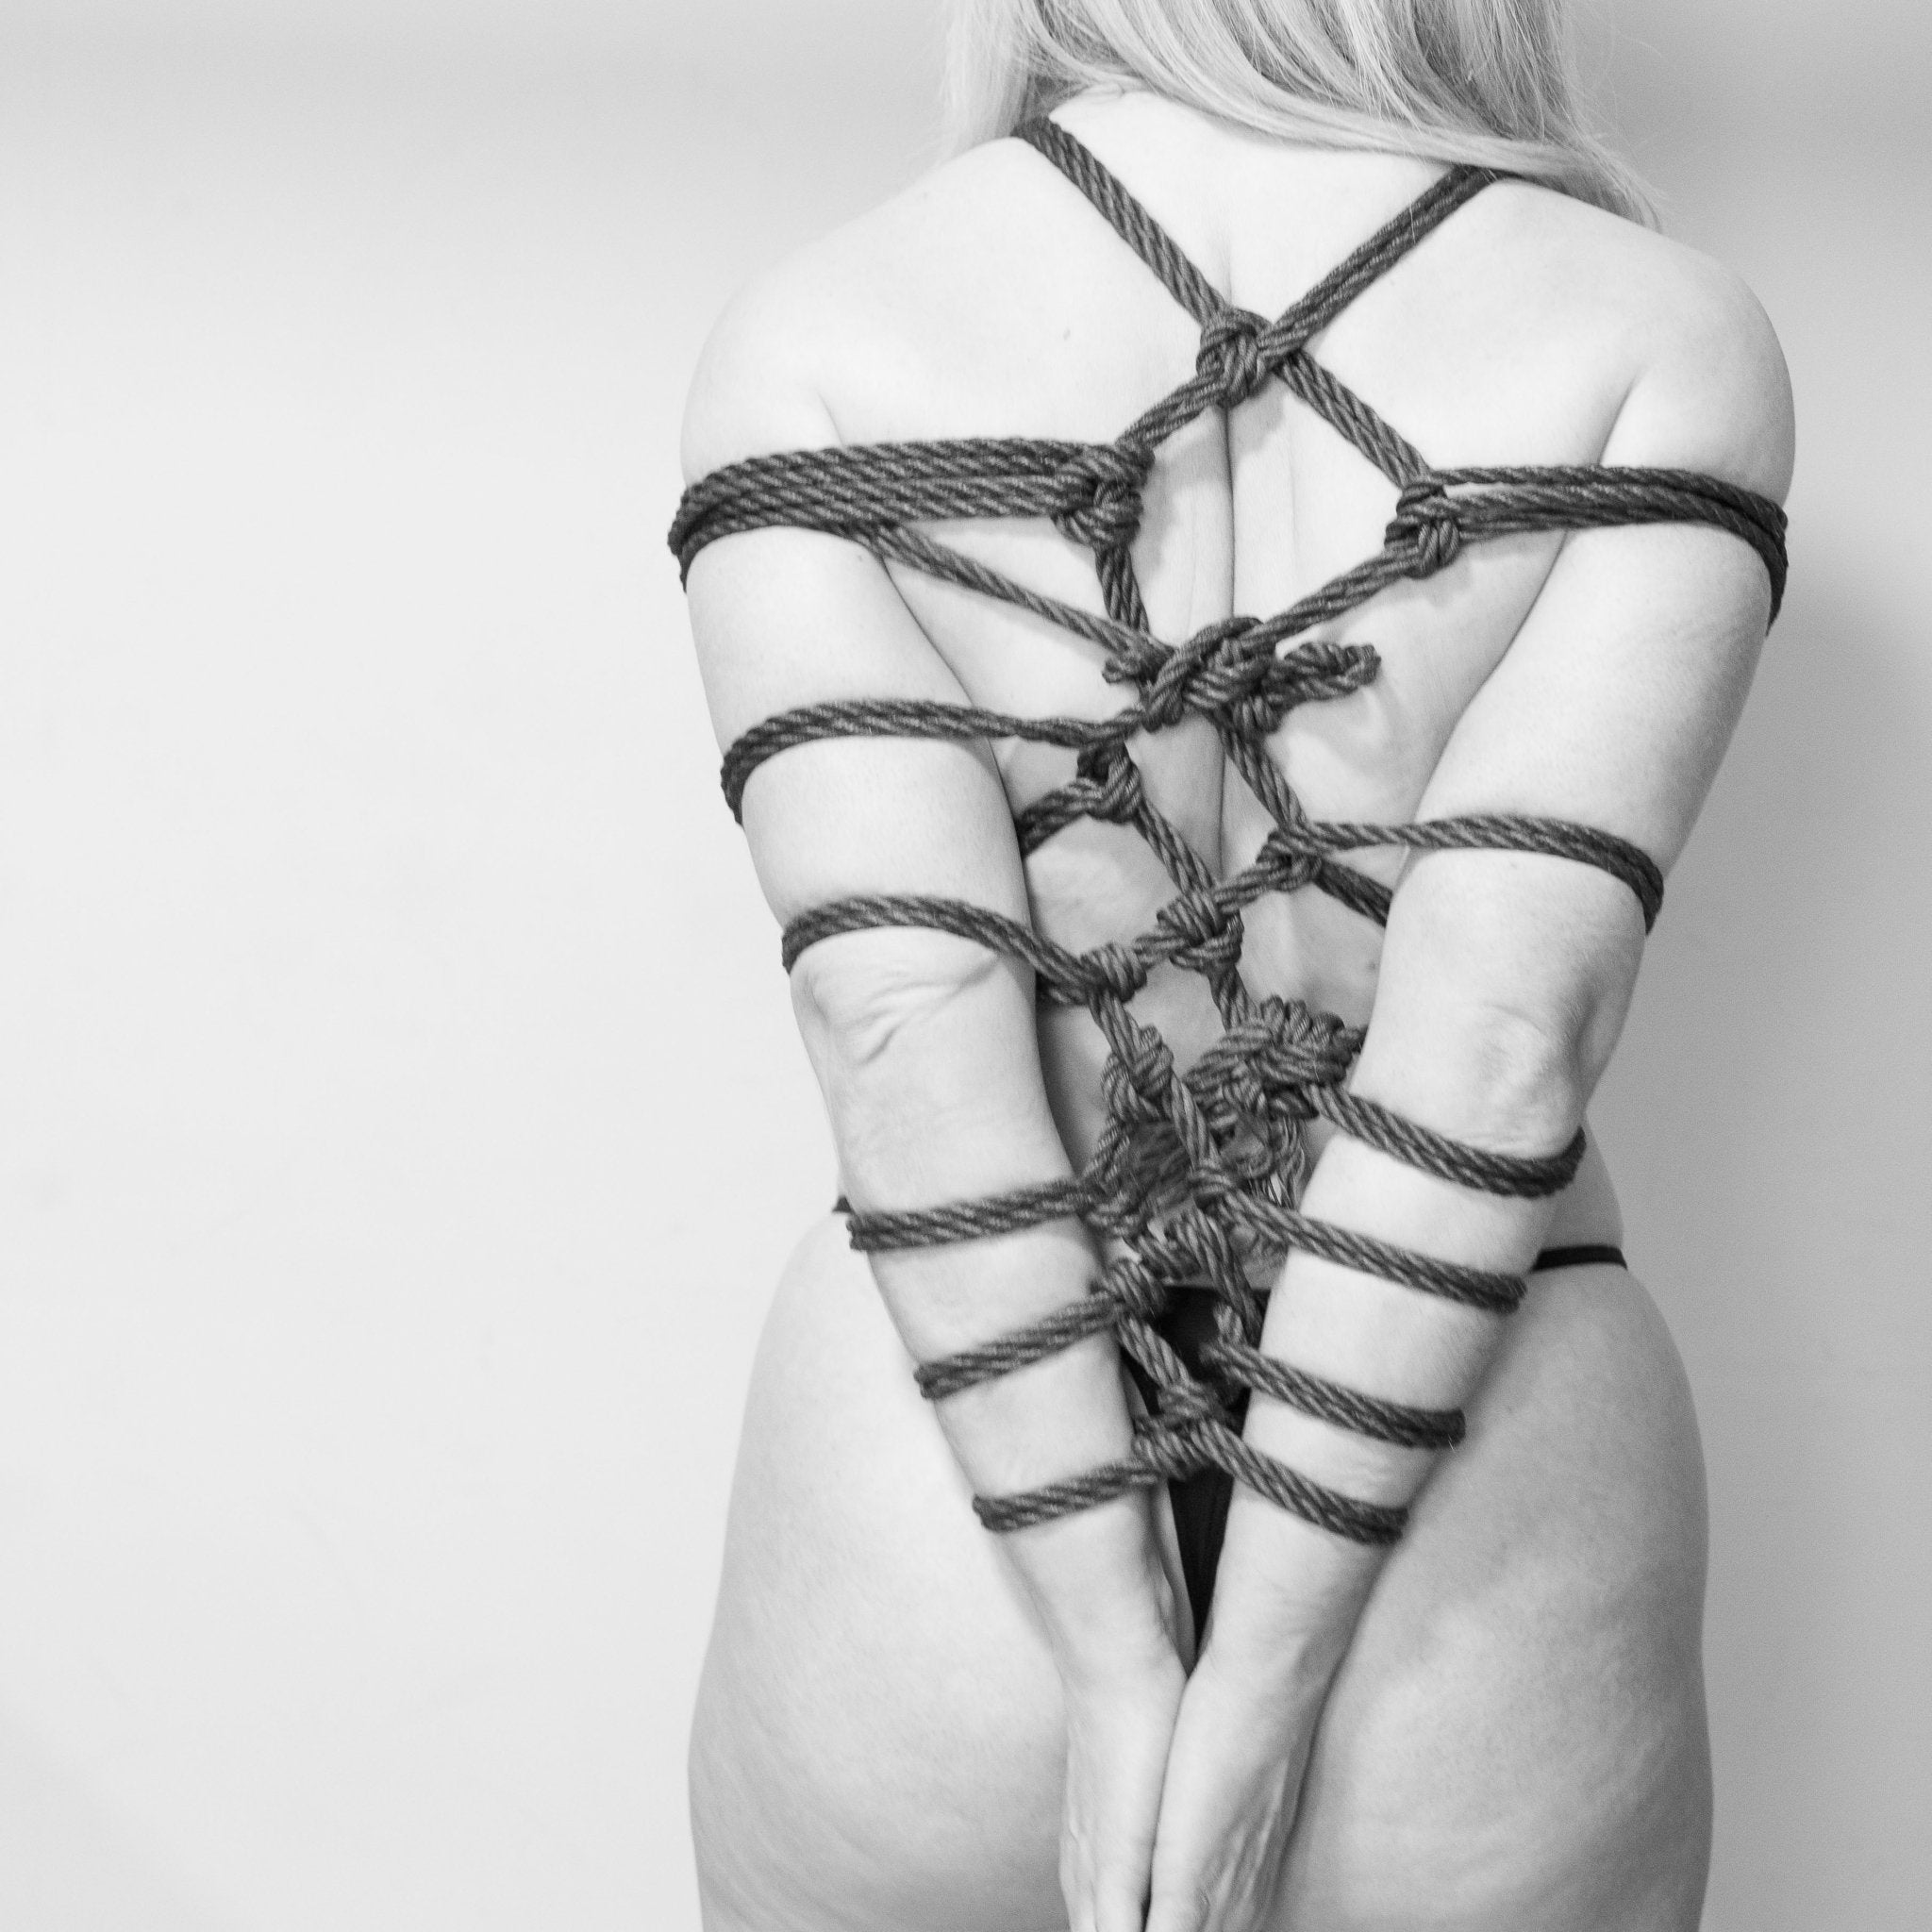
8. If we where not doing a front section to this harness we would tie of at this stage, you can see how to do that in this tutorial: Reverse Tension Chest Harness. What we want to do is bring the rope over the shoulder so we can work on the front of the tie.
Bring the rope under the bottom wrap and up over the opposite shoulder. Make sure that the rope sits on the inside of the shoulder blade not on it.


Front Section
Option 1 The turn
Bring the rope down over both wraps and pull it under the bottom wrap to the left, then take it back over the shoulder.


Follow the instruction below under the heading "Finishing off the back of the pattern" to complete your tie.
Option 2 Teardrop
This pattern uses a teardrop friction. Bring the rope down over both wraps and pull it under the bottom wrap to the right, then take it back over the shoulder.


Follow the instruction below under the heading "Finishing off the back of the pattern" to complete your tie.
Option 3 Locked Teardrop
I think this version looks slightly better and neater than version 2, and sits slightly better.
1. Bring the rope down over both wraps and pull it under the bottom wrap.
2. Bring the rope under the top wrap and over the shoulder


Follow the instruction below under the heading "Finishing off the back of the pattern" to complete your tie.
Option 4 Lets do the twist
Why have one twist when you can have two?
1. Bring the rope down over both wraps and pull it under the bottom wrap to the right of your rope.

2. Bring the rope over then under the shoulder strap and back over the other shoulder.


Finishing off the back of the pattern
Which ever pattern you choose from the front, the tie off at the back can be done in the same way.


Tying off the pattern
To tie off this rope pattern so it is all secure we are going to add two-half hitches to the stem.
1. Place your finger in front of your rope and under the stem and pull the rope through the gap you have created.


2. Pull your rope downwards to compact the knot


3. Repeat the same steps to tie a second half-hitch. Place your finger in front of your rope and under the stem and pull the rope through the gap you have created.

4. Pull the rope downards to compact the half hitch and your chest harness is complete.